
How to organize power tools in garage cabinets comes down to two things most garages miss, visibility and repeatability, meaning you can see what you own, and you can put it back without thinking too hard.
If your cabinet turns into a black hole for chargers, batteries, and “that one wrench,” you’re not alone, power tools are awkward shapes, accessories multiply fast, and most cabinets were designed for paint cans, not cordless ecosystems.
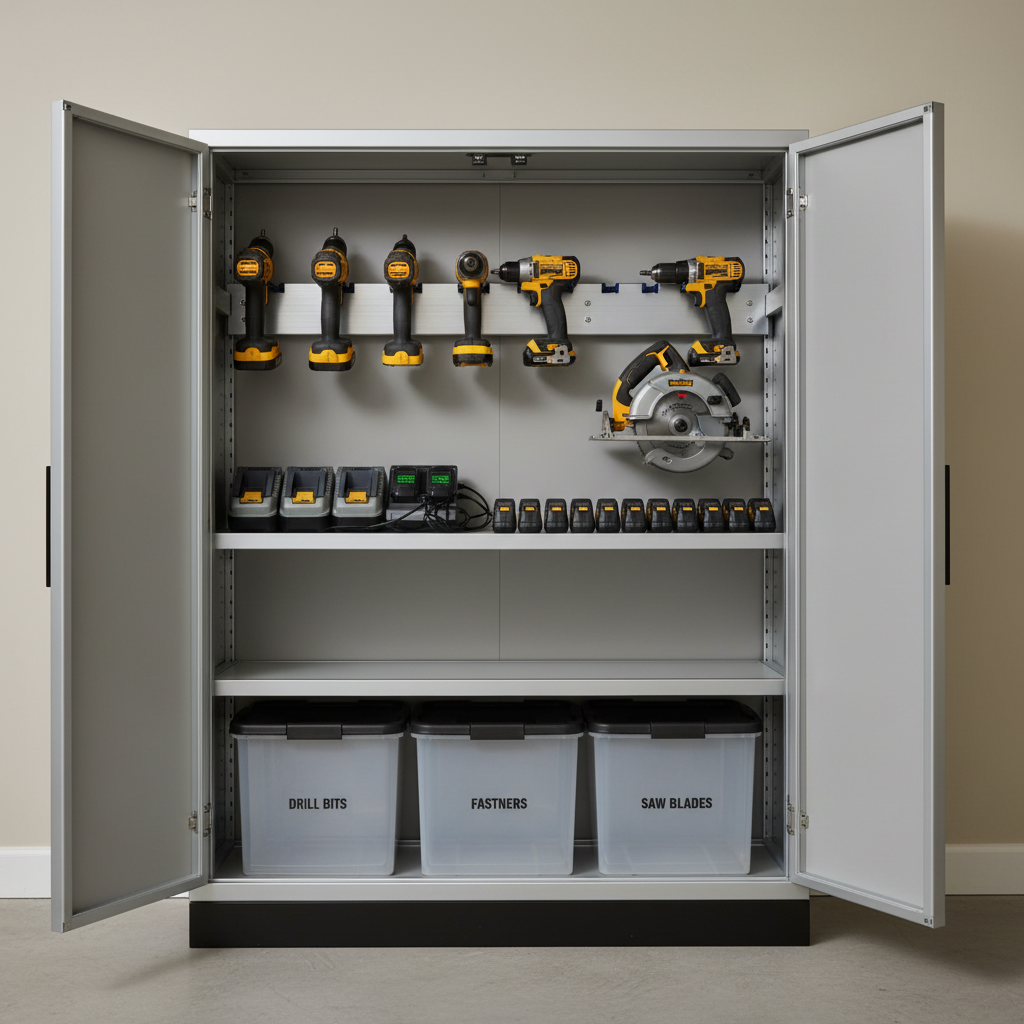
This guide keeps it practical, you’ll set up a simple cabinet layout, decide what belongs inside versus outside, and pick storage that fits your tools, not the other way around. You’ll also get a quick self-check, a small parts strategy, and a reset routine that stops the mess from coming back next weekend.
Start with a cabinet plan that matches how you actually work
Before buying organizers, decide what the cabinet is supposed to do. Many people try to cram every tool into one cabinet, then wonder why it feels chaotic. A better approach is to treat cabinets as “home base” for daily-use items and vulnerable items, while bulky or dirty tools may live elsewhere.
- Fast-grab zone: drill/driver, impact, tape measure, flashlight, most-used bits
- Project support zone: oscillating tool, multi-tool blades, sanders, jigsaw, hole saws
- Power ecosystem zone: batteries, chargers, manuals, spare clips
- Messy/dirty zone: grinding discs, wire wheels, shop rags, gloves (ideally in a bin)
Keep the fast-grab zone between chest and eye level. If you’re bending and digging every time, the system won’t last.
Quick self-check: what’s causing your cabinet clutter?
When people ask how to organize power tools in garage cabinets, the real blocker is usually not space, it’s mixed categories. Use this quick checklist and be honest, it saves hours.
- Do you store tools and consumables together (drill next to loose screws, sandpaper, blades)?
- Are batteries scattered across drawers, shelves, and tool bags?
- Do accessories live in original packaging, half-open, half-lost?
- Do you have duplicates you forgot you owned (extra chargers, three tape measures)?
- Is the cabinet too deep, so items hide behind items?
If you checked two or more, prioritize visibility and small-parts control, not more shelves.
Sort tools into “cabinet-worthy” vs “better elsewhere”
Garage cabinets are great for protecting tools from dust and humidity swings, but not everything belongs inside. If you force it, the cabinet becomes a junk drawer with doors.
Usually cabinet-worthy
- Battery tools you use often (drills, drivers, sanders)
- Batteries and chargers (with ventilation and safe cable routing)
- Precision accessories (router bits, drill bits, blade sets)
- PPE you want clean (safety glasses, hearing protection, masks)
Often better elsewhere
- Large corded saws or tool cases that eat shelf height
- Dusty tools (masonry, concrete grinding gear) unless you bin them
- Long items (levels, straight edges) that fit wall racks better
According to OSHA, good housekeeping helps reduce workplace hazards like slips and trips, the same logic applies in home shops, clear floors and predictable storage cut the “where did I put it” scramble.
Build your cabinet layout: shelves, bins, and door space
Cabinet interiors work best when you combine three storage styles, open-front bins for small stuff, dedicated spots for tool bodies, and a controlled area for batteries/charging.
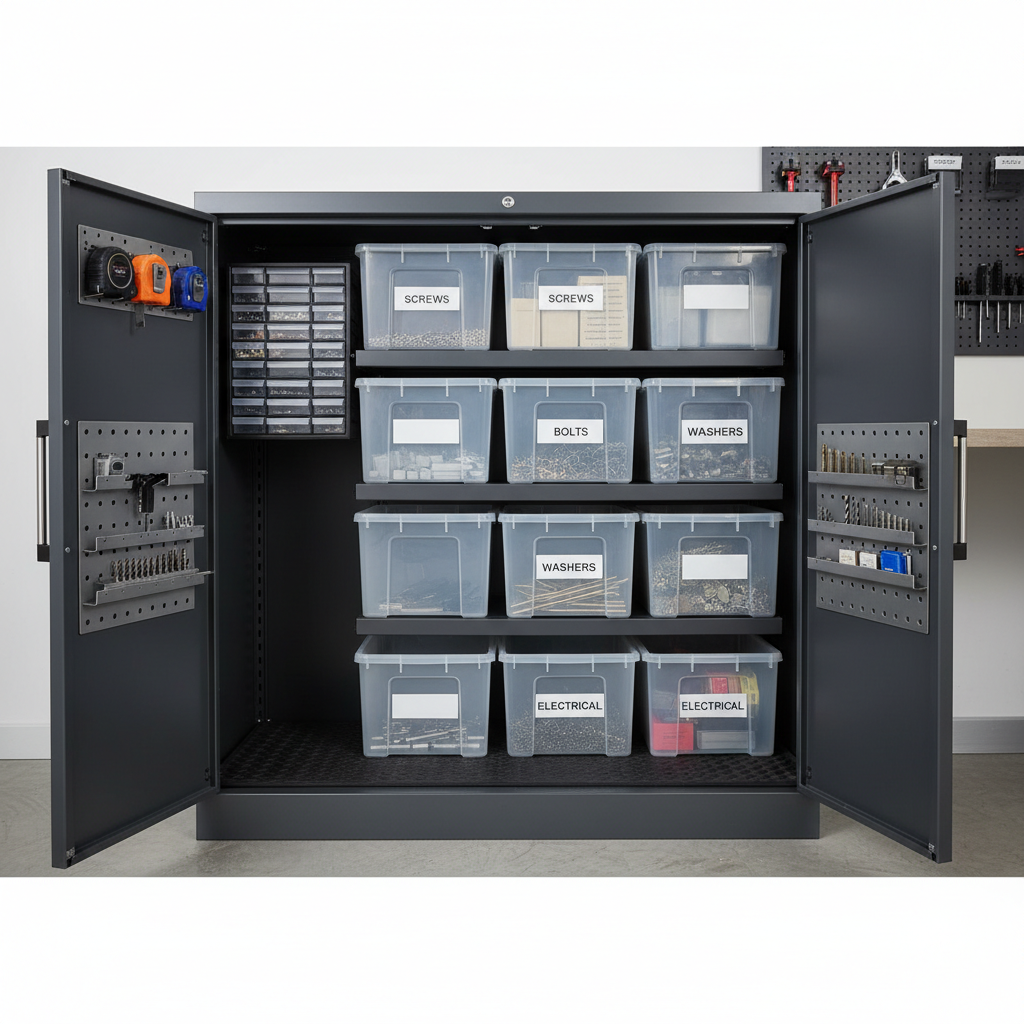
1) Use “contained” storage for small accessories
Bits, blades, sanding discs, and driver tips are the fastest way to wreck an organized cabinet. Put them in something that closes or at least has a lip.
- Small parts cases for bit sets and specialty accessories
- Clear, labeled bins for loose items (spare collets, arbor nuts, hex keys)
- Open-top parts trays only for items you truly refill weekly
Label like a retailer, not like a diary, “1/4 in driver bits” beats “drill stuff.”
2) Make tool bodies easy to grab without unstacking
Stacking tools feels tidy until you need the bottom one. Aim for one-motion retrieval, especially for daily drivers.
- Place drills/drivers upright in a divided bin or on a shelf with simple separators
- Store saws and sanders with their “footprint” facing out, so you can pull forward
- Keep cords or hoses in a separate bin so they don’t tangle around handles
If you share tools with family members, this is the moment to keep it obvious, the more “interpretation” required, the faster the system degrades.
3) Create a safe, sane battery and charging zone
Batteries deserve their own area because they’re expensive, easy to misplace, and sometimes sensitive to heat. Many people try to charge in a sealed cabinet, which can be a bad idea depending on heat buildup and charger design.
- Pick a shelf with airflow, avoid crowding chargers back-to-back
- Use cable clips or a small cable box so cords don’t snag tools
- Keep a “ready” row and an “empty” row, even a simple labeled bin works
According to UL (Underwriters Laboratories), following manufacturer instructions and using listed chargers helps reduce electrical risk, when in doubt, check the charger manual and consider charging outside the cabinet or with the doors open.
A simple storage map (with a table you can copy)
If you want a clean setup without overthinking, use this map as a starting point, then adjust to your tool list. This is also a good way to explain the system to anyone else in the household.
| Cabinet Area | What to Store | Container Type | Label Example |
|---|---|---|---|
| Top shelf | Rare-use tools, manuals, spare parts | Lidded bin | “Spare parts / manuals” |
| Eye-level shelf | Drill/driver, impact, multitool | Divided bin or separators | “Daily tools” |
| Mid shelf (charging) | Chargers, batteries, adapters | Tray + cable clips | “Batteries / chargers” |
| Lower shelf | Saws, sanders, heavier items | Open bin or shelf parking | “Saws / sanders” |
| Cabinet door | Bit cases, tape measure, marker | Door rack or pockets | “Bits / measuring” |
For most garages, this layout answers how to organize power tools in garage cabinets without turning it into a weekend-long carpentry project.
Step-by-step: set up your cabinet in 60–120 minutes
You can get a meaningful reset fast if you keep decisions simple. The goal is not perfection, it’s a setup you can maintain when you’re tired.
- Empty one cabinet only, resist spreading across the whole garage
- Trash obvious packaging and broken accessories, set “maybe” items aside
- Group into piles, tool bodies, batteries/chargers, accessories, consumables, PPE
- Assign each pile to a zone, then pick containers that match the pile
- Label as you go, even painter’s tape works until you commit
- Put the daily tools back first, they should get the best real estate
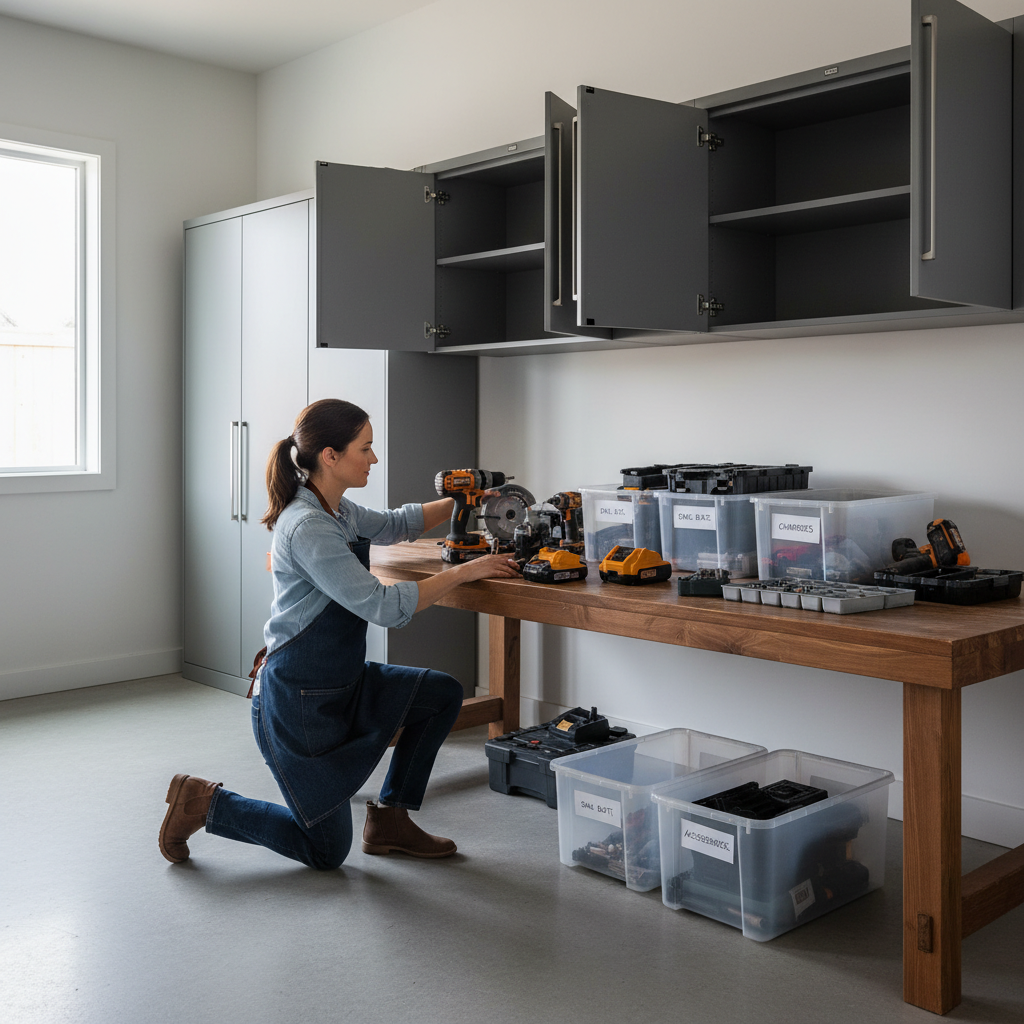
If you hit the “I don’t have enough room” moment, it’s usually because accessories need containment, or because you’re keeping tool cases you never use. Cases are fine, but they often waste vertical space inside cabinets.
Mistakes that make cabinets messy again (and how to avoid them)
These are the patterns that undo good organization. Fixing them is often easier than buying new storage.
- One giant bin for everything: split by task, drilling, cutting, sanding, fastening
- No home for consumables: give blades, discs, sandpaper a dedicated bin per type
- Loose batteries: keep a single battery area, even if it’s just two labeled trays
- Deep shelves with no pull-out: use bins as “drawers” so you can pull and see
- Labels that don’t match reality: rename zones when your tool mix changes
A small but real tip, keep one “quarantine” bin for random stuff you’re unsure about, then review it monthly. It stops you from stuffing mystery items wherever there’s space.
When it’s time to upgrade: cabinet features that help power tool storage
If you’re replacing cabinets or adding one more unit, prioritize function over looks. Many garage cabinets look great but frustrate you in daily use.
- Adjustable shelves with tighter spacing options for short tools and cases
- Sturdy shelf ratings for heavier saws and stacked bins
- Door storage compatibility so you can add racks or pockets later
- Moisture resistance if your garage sees humidity swings
And if you’re planning a charging station, consider where the outlet sits and how cords run. If you need extension cords draped across shelves, the setup tends to feel messy and may introduce avoidable risk, an electrician can advise on adding an outlet if your situation is complicated.
Key takeaways (so you don’t overthink it)
- Zones beat “more storage”, organize by how you work, not by brand or tool size alone
- Contain the small stuff, bits and blades need cases or labeled bins
- Battery control matters, one charging area, clear airflow, simple labels
- Design for one-motion retrieval, avoid stacking daily tools
- Maintenance is a feature, a 2-minute reset routine keeps cabinets usable
Wrap-up: make it easy to put tools back
If you want how to organize power tools in garage cabinets to stick, optimize for the moment after the project, when you’re ready to be done. Give daily tools the easiest shelf, trap accessories inside labeled containers, and keep batteries in one predictable spot.
Your next move can be simple, pick one cabinet, set up three zones, then run a quick reset after your next project. If it still feels crowded, that’s a sign to reduce duplicates or move bulky items out of the cabinet, not a sign you failed.
FAQ
How do I organize power tools in garage cabinets if I have very deep shelves?
Use bins as pull-out “drawers,” put categories in separate bins, then label the front. Deep shelves work fine when you can pull the whole category out and see everything at once.
Should I store power tools in their hard cases inside cabinets?
It depends on space and how often you use them. Cases protect tools, but they waste vertical space and slow you down. Many people keep rare-use tools in cases and store daily drivers out of cases for quicker access.
Where should chargers go inside a garage cabinet?
A dedicated shelf with airflow and clean cable routing usually works better than cramming chargers into a corner. If heat buildup seems likely, consider charging with the cabinet doors open or outside the cabinet, and follow the manufacturer guidance.
What’s the best way to store drill bits and driver bits?
Keep them in a closing case or small organizer, sorted by type and size, then store that case in the fast-grab zone. Loose bits in a bin look fine for a week, then become a time sink.
How do I organize multiple battery platforms (different brands)?
Separate by platform and label clearly, even if you only use painter’s tape. Mixing platforms is where people waste time and sometimes misplace chargers, two trays per brand (ready/empty) is a low-effort fix.
How can I keep the cabinet organized long term?
Add a tiny routine, after each project, do a 2-minute reset, tools back to their shelf, accessories back to their labeled bin, batteries back to the charging zone. The routine matters more than fancy organizers.
Is it okay to store tools in the garage if it gets humid or very hot?
Many tools tolerate garage conditions, but humidity and heat can be rough on batteries and metal accessories over time. If you see rust starting or batteries acting odd, consider a drier storage spot or consult the tool manufacturer’s storage recommendations.
If you’re already committed to garage cabinets and want a more “set it up once” approach, it can help to map your tool list to zones, choose bins that match those categories, then label everything in one pass, it feels small, but it’s usually the difference between a cabinet that stays organized and one that slowly drifts back into chaos.