
diy chalkboard labels for pantry organization are one of those small upgrades that make your kitchen feel instantly calmer, because you stop guessing what’s in each jar, bin, or bag.
If you’ve ever bought a refill and had nowhere obvious to put it, or you’ve opened three “flour” containers before finding the right one, labels solve that in a very practical way. Chalkboard-style labels are especially forgiving, you can change them when your pantry changes, and most pantries change more often than we admit.
This guide walks through what to use, how to make labels that actually stay put, and how to organize them so they remain readable month after month, not just on day one. I’ll also point out the common mistakes that make chalkboard labels look cute in photos but annoying in real life.
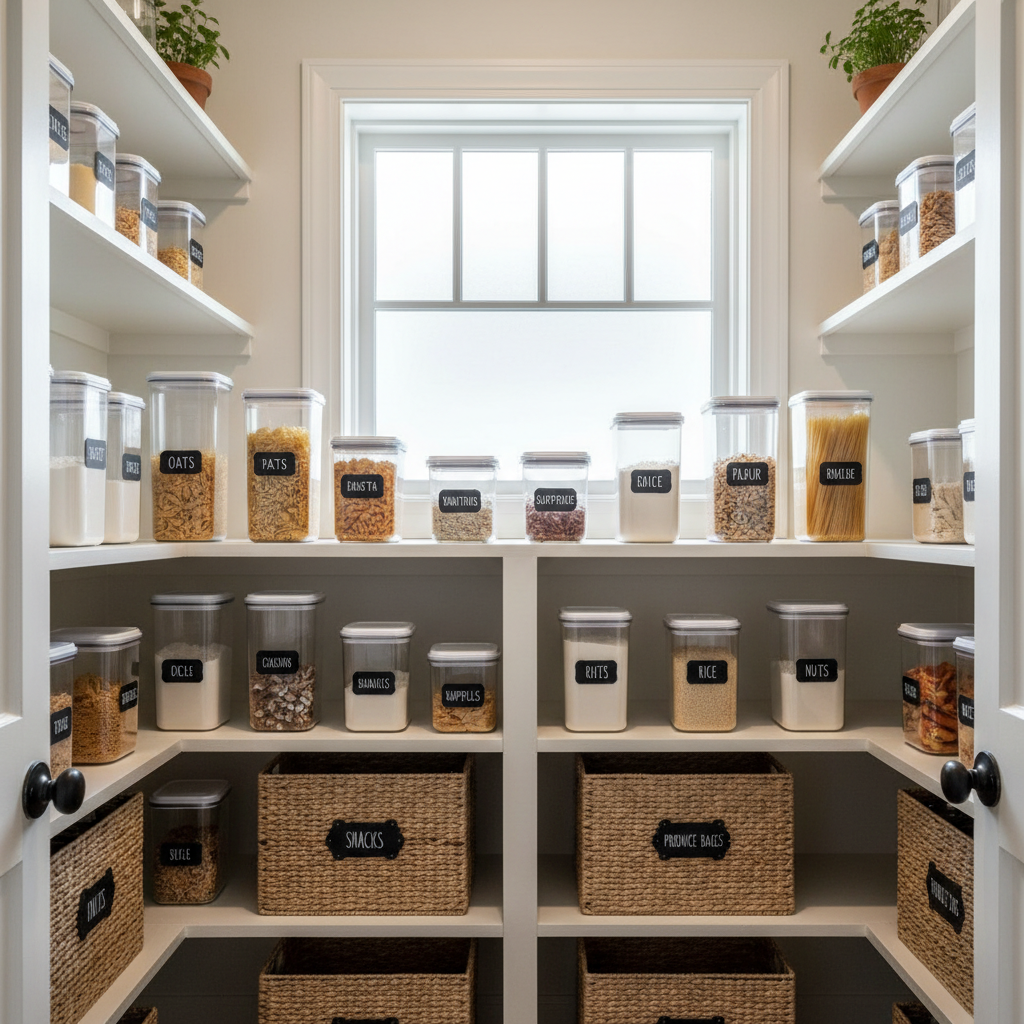
Why chalkboard labels work so well in real pantries
Chalkboard labels are popular for a reason, they match the way a pantry behaves in real life. Your storage needs shift with seasons, diets, kids’ snacks, and Costco runs.
- They’re editable, which matters when “breadcrumbs” becomes “panko” or “dog treats” becomes “cat food.”
- They reduce visual noise, especially when containers are mismatched, you get one consistent label style across everything.
- They support quick scanning, you can see what you need from a few feet away if you size them right.
- They’re low-commitment, no expensive label maker, no reprinting every time you switch products.
According to USDA, labeling food helps with identification and rotation practices, which can support safer storage habits at home, especially when you decant items into unmarked containers.
Quick self-check: which label style fits your pantry and bins?
Before buying supplies, decide what you’re labeling. A chalkboard sticker that looks great on glass might peel on textured plastic, and a hanging tag that works on wire baskets might snag in a tight shelf.
Use this checklist to decide
- If you use clear canisters, flat adhesive labels or vinyl labels tend to sit cleanly.
- If you use woven or fabric bins, hanging tags or clip-on labels usually behave better than stickers.
- If your shelves are deep and dark, choose larger labels and higher-contrast writing tools.
- If kids help themselves, pick simple words and avoid fancy script that slows them down.
- If you reorganize often, removable labels beat permanent paint every time.
If you’re still unsure, do one shelf first. A mini test run saves you from relabeling an entire pantry later.
Supplies that make DIY chalkboard labels look clean (not crafty)
You can keep this simple, but a couple of choices make a big difference in how “finished” your labels look.
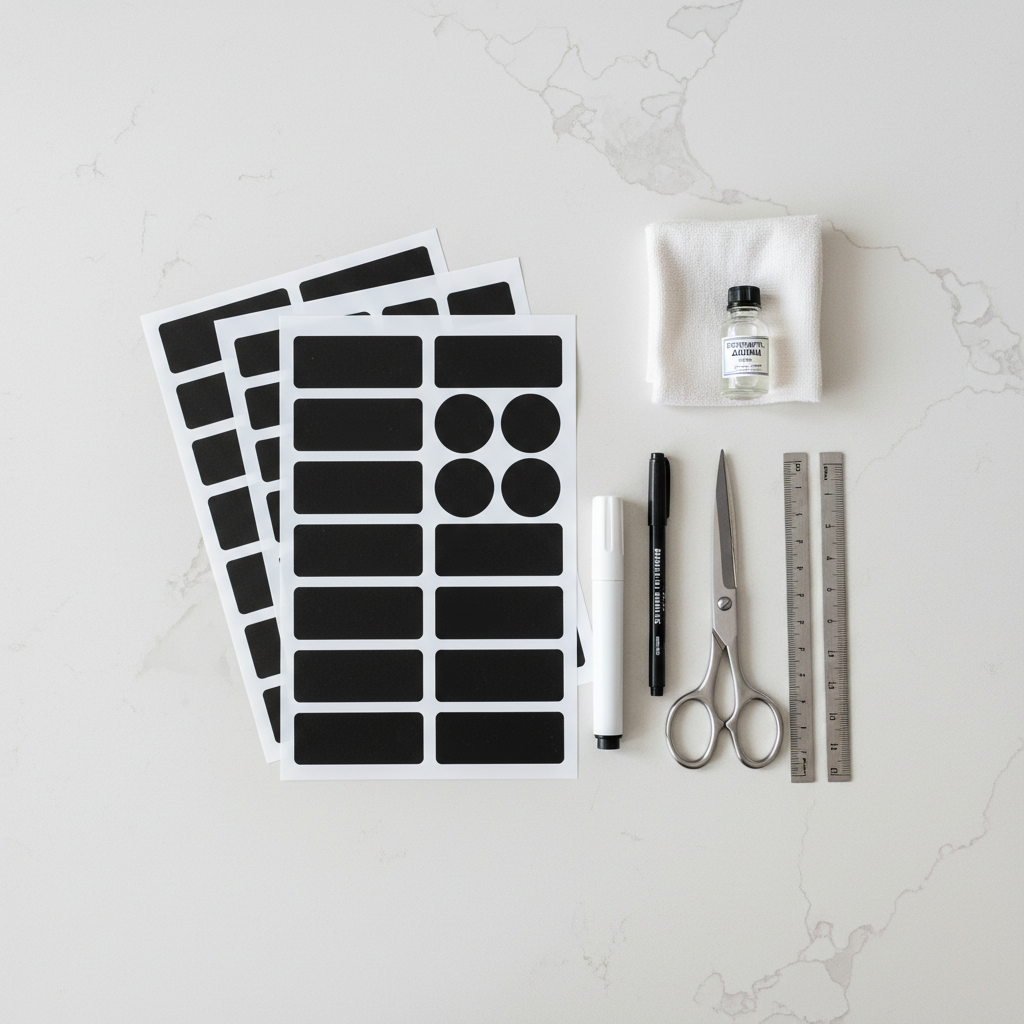
- Chalkboard label material: removable chalkboard sticker sheets, pre-cut labels, or chalkboard paint (better for rigid surfaces).
- Writing tool: chalk marker for crisp lines, soft chalk for a more rustic look, paint pen for non-smudge text on some surfaces.
- Cutting tools: paper trimmer or craft knife + metal ruler for straight edges.
- Cleaning prep: rubbing alcohol and a lint-free cloth, especially on plastic bins with manufacturing residue.
- Optional helpers: corner rounder, label templates, small level, or painter’s tape for alignment.
One practical tip: if you want uniformity, decide on two label sizes only, one for jars/canisters, one for bins. Too many shapes looks busy fast.
Step-by-step: DIY chalkboard labels for pantry and storage bins
This is the part that sounds obvious, but the details are where labels either stay nice for months or start peeling and smearing by next week.
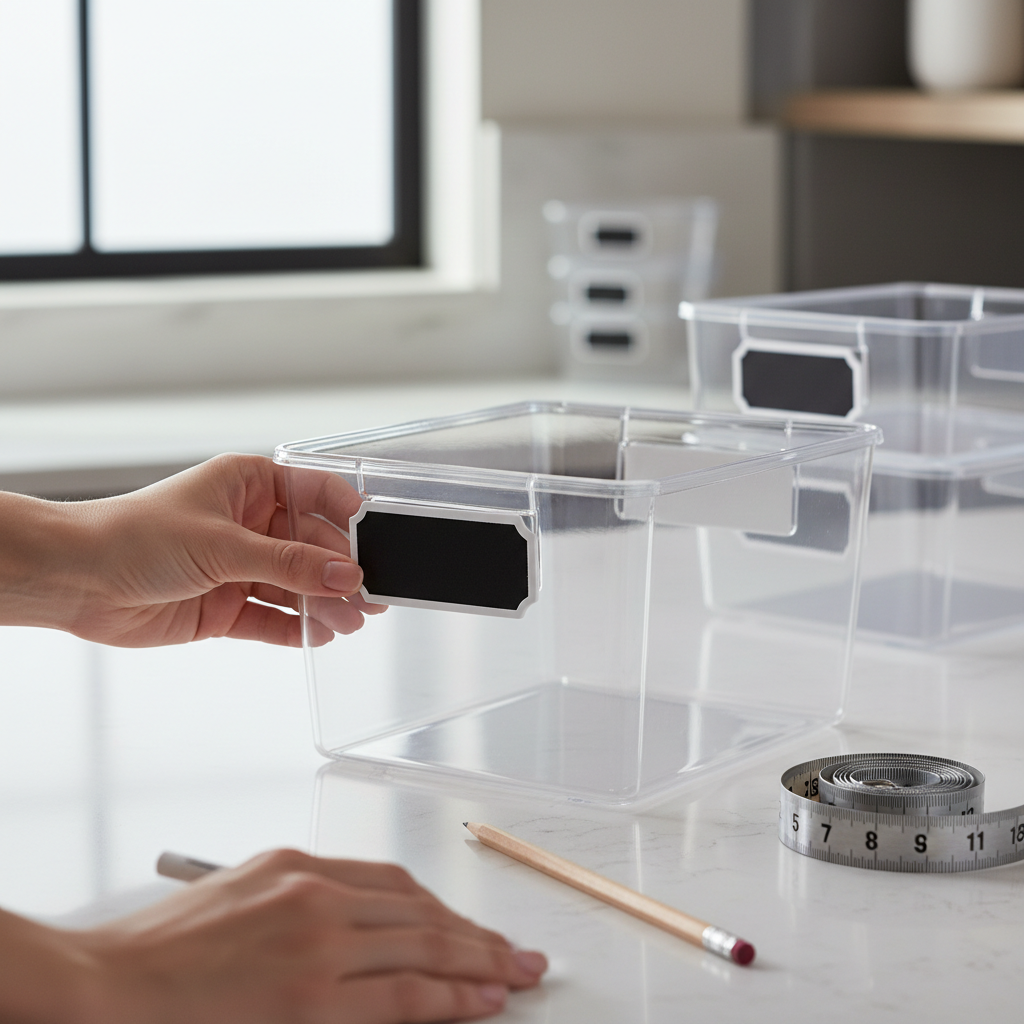
1) Measure where labels will live
Pick a consistent placement, for example, lower-right corner of each bin front. Measure once, then make a quick paper template so every label lands at the same height.
2) Prep surfaces so adhesive can actually grip
Wipe each area with rubbing alcohol and let it dry. Many plastic bins feel clean but still have oils that reduce adhesion.
3) Cut or select label shapes
Rectangles are easiest to align. If you love rounded corners, use a corner rounder so every label matches, uneven rounding is very noticeable.
4) Apply labels without bubbles
- Peel a small section of backing, anchor one edge, then smooth outward.
- Use a gift card or scraper to press firmly, especially on the edges.
- If you trap a bubble, lift and re-smooth rather than poking holes, holes can invite peeling.
5) “Prime” the chalkboard surface (if needed)
Some chalkboard labels work better if you rub chalk over the area and wipe it off once, it reduces ghosting later. Not every product needs this, so check the label instructions.
6) Write in a way you can maintain
Choose legibility over style. If you want a consistent look, use block letters and keep a simple rule like all caps for category bins and title case for ingredients.
When people search for diy chalkboard labels for pantry organization, they usually want the “Pinterest look,” but the pantry you’ll love most is the one that’s fast to read on a rushed weekday.
A labeling plan that prevents clutter creep
Labels only work if the words match your habits. The best pantry label system tends to be boring in a good way.
Use a two-layer naming system
- Category bins: “Baking,” “Snacks,” “Breakfast,” “Pasta,” “Spices,” “Backstock.”
- Specific containers: “All-purpose flour,” “Brown sugar,” “Jasmine rice.”
If you skip categories and label every single item, reorganization becomes a chore. If you only label categories, you still end up rummaging.
Table: label types vs best use cases
| Label type | Best for | Pros | Watch-outs |
|---|---|---|---|
| Adhesive chalkboard sticker | Glass, smooth plastic, metal canisters | Clean look, quick to apply | Can peel on textured bins or dusty surfaces |
| Hanging chalkboard tag | Wire baskets, woven bins, handles | Easy to swap and move | Can swing, snag, or flip in tight shelves |
| Clip-on label holder | Open shelves, basket edges | Reusable, very adjustable | Not as “minimal” visually |
| Painted chalkboard patch | Wood fronts, custom pantry builds | Durable, integrated look | More permanent, prep and cure time |
Common mistakes (and what to do instead)
A lot of label frustration comes from a few predictable issues. Fixing them usually takes minutes, not a full redo.
- Labels peel off bins: clean with alcohol, avoid applying over textured areas, press edges firmly, and consider hanging tags for fabric or weave.
- Writing smudges: let chalk markers dry fully, avoid touching the text area, and keep a small cloth nearby for quick wipe-downs.
- Too much detail: “Gluten-free oat flour 2026” might be accurate, but it’s not readable. Put dates on the lid with a smaller mark if you need them.
- Inconsistent placement: it looks messy even when your pantry is clean. Use a simple template or painter’s tape guide.
- Ghosting: prime the surface when recommended, and clean gently, harsh scrubbing can stain some label coatings.
Also, be careful with cleaning sprays. Some solvents can weaken adhesive or haze plastic. If you have specialty surfaces, the manufacturer guidance is usually the safest bet.
When it’s worth getting extra help or upgrading tools
If you’re labeling an entire pantry and you already feel overwhelmed, it’s not a character flaw, it’s just a lot of tiny decisions. A few situations where support or an upgrade may be worth it:
- You manage food allergies or strict dietary needs, a professional organizer or a more structured label system can reduce mix-ups.
- Your pantry doubles as medication or supplement storage, consider clearer, more permanent labeling and consult a pharmacist if you’re unsure about safe storage.
- You rent and need removable options, removable vinyl and tag systems can save you from residue and deposit headaches.
Even then, keep it simple. The point of diy chalkboard labels for pantry organization is less stress, not a second job.
Conclusion: make labels you’ll still like three months from now
The best chalkboard labels are the ones you can read quickly, edit without drama, and keep aligned without fuss. Start with one shelf, choose a consistent label size, and commit to clear words over decorative lettering.
If you want an easy next step, pick three categories that annoy you most, snacks, baking, and backstock are common, then label just those bins this week. Momentum matters more than perfection.
FAQ
How do I keep chalkboard labels from peeling off plastic bins?
Clean the bin front with rubbing alcohol, let it dry, then apply the label with firm pressure along the edges. If the bin surface is textured, hanging tags or clip-on holders usually hold up better than stickers.
Are chalk markers better than regular chalk for pantry labels?
Often, yes, chalk markers are typically more legible and less dusty. The tradeoff is drying time and occasional ghosting, so test on one label first and follow the product instructions.
What should I label first when organizing a pantry?
Label high-traffic categories and containers you reach for weekly, flour, sugar, rice, snacks, breakfast items. You’ll feel the payoff fastest there, then expand.
Can I use chalkboard paint directly on storage bins?
Sometimes, but it depends on the bin material and how flexible it is. Paint adheres better to rigid surfaces, and some plastics resist paint without special prep, so check paint recommendations and test a small area.
How big should labels be for deep pantry shelves?
Go bigger than you think, especially for bins on low or high shelves. A wider label with fewer words usually reads better than a small label crammed with text.
How do I clean chalkboard labels without smearing everything?
For minor cleanups, a dry microfiber cloth works. For a full reset, a slightly damp cloth can help, then let the surface dry before rewriting, aggressive cleaners may damage some coatings.
Do I need to add dates to pantry labels?
It depends on your habits. If you decant items often or buy in bulk, adding a small date on the lid can help rotation, but many households do fine with just clear names and a simple “backstock” bin.
If you’re building out a pantry refresh and want a more streamlined setup, think matching containers, a short list of category bins, and label sizes that repeat, it’s usually the fastest path to a pantry that stays organized without constant upkeep.