
diy wooden spice rack for kitchen countertop projects usually start for the same reason: the spice jungle takes over, labels hide in the back, and you end up buying doubles because you can’t see what you already own.
A small rack on the counter sounds simple, but the difference between “cute for a week” and “actually usable” comes down to a few practical choices, jar sizing, stability, wipe-clean finish, and a layout that matches how you cook.
This guide keeps it realistic: a couple of build options, a cut list you can tweak, finishing advice for a kitchen environment, plus a quick checklist so you don’t waste an afternoon building something that doesn’t fit your jars.
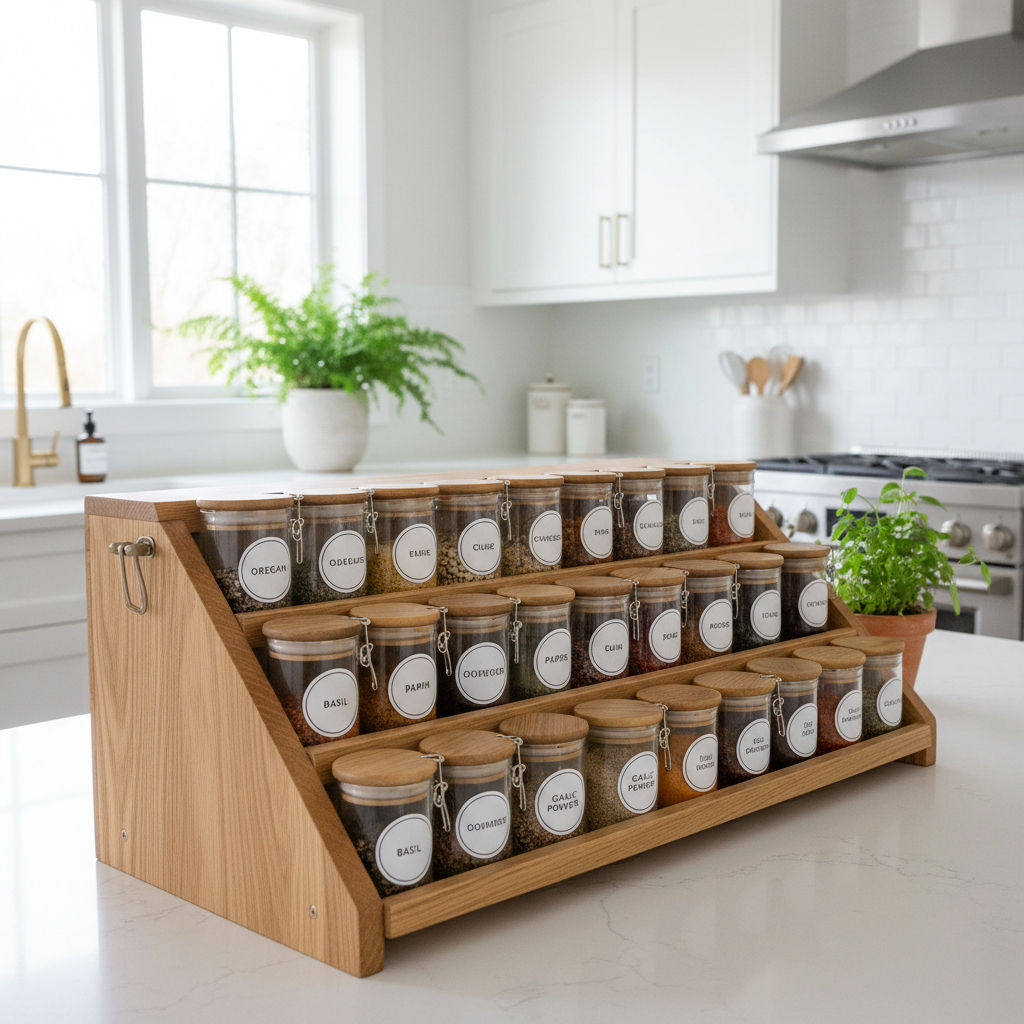
Pick the right style for your counter (before you buy wood)
If you’re searching diy wooden spice rack for kitchen countertop ideas, you’ll see everything from minimalist single-tier trays to tall stair-step stands, the “best” one depends on your counter depth and how often you reach for spices mid-cooking.
- Tiered “stadium” rack: best visibility, especially for small jars, but it can feel top-heavy if it’s too narrow.
- Wall-backed counter rack: sits against the backsplash, less likely to tip, works well near the stove if you leave clearance from heat.
- Tray with angled front lip: easiest build, great for taller grinders, but you trade off some label visibility.
One honest constraint: if your spices live in mixed containers, different heights, different diameters, you’ll want a rack with extra depth or adjustable spacing, otherwise it looks tidy but functions poorly.
Materials and tools that actually matter (and what you can skip)
You don’t need a full shop, but you do need straight cuts and a finish that handles splashes. According to OSHA, woodworking tasks can create dust hazards, so basic dust control and a properly fitted mask are worth taking seriously.
Recommended materials
- Wood: 1x4 and 1x3 pine is budget-friendly; poplar paints well; oak/maple feel premium but cost more.
- Backer (optional): 1/4-inch plywood for a clean rear panel, helps keep jars from sliding off the back.
- Fasteners: wood glue plus 1 1/4-inch brad nails or 1 1/4-inch screws.
- Non-slip feet: felt pads or rubber bumpers to stop creeping on slick counters.
Tools
- Miter saw or circular saw with a guide, a speed square, measuring tape
- Drill/driver, clamps, sandpaper (120/180/220 grit)
- Brad nailer is nice, but not required
What you can skip in many kitchens: overly soft “rustic” wax finishes, they look great but often dislike moisture and frequent wiping.
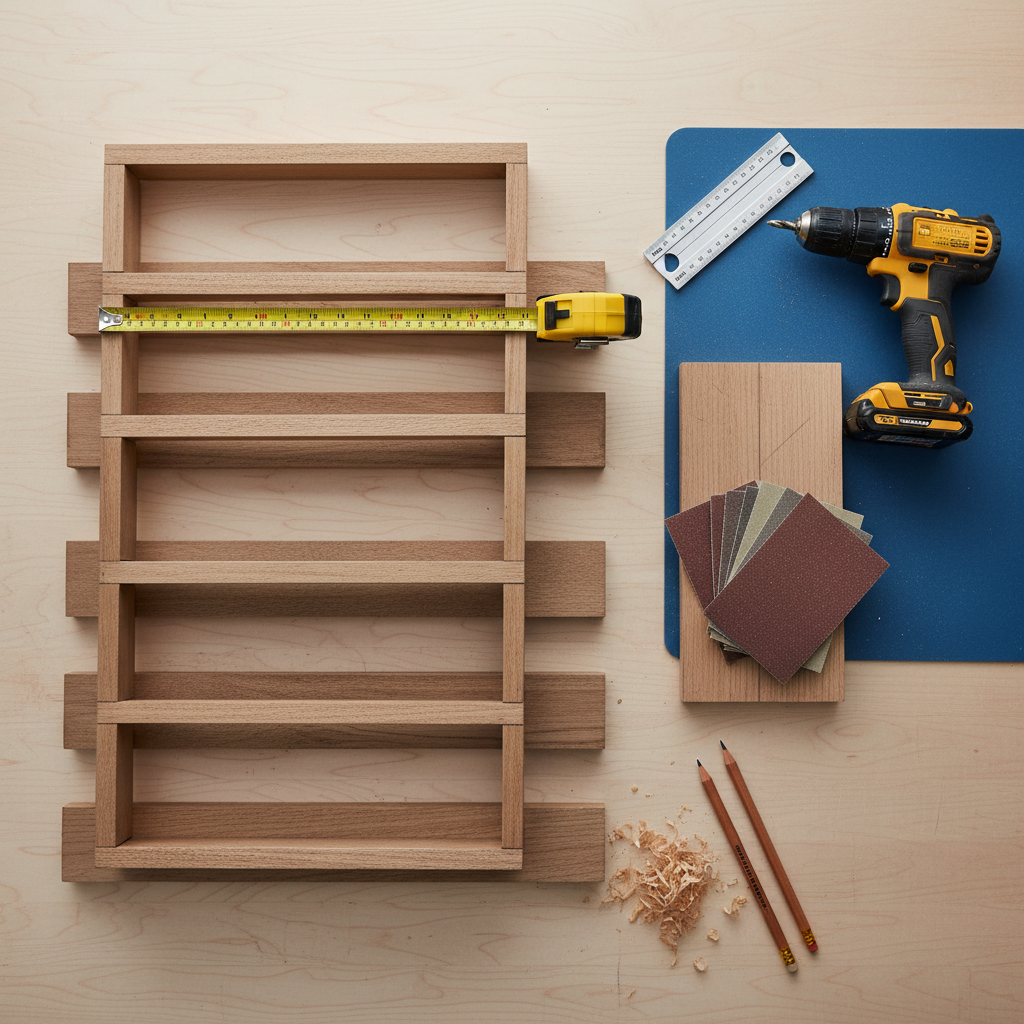
Quick self-check: sizing your rack to your jars and your space
Before cutting anything, do a 2-minute check with the jars you own. This is where most diy wooden spice rack for kitchen countertop builds go sideways, the rack fits the counter, but not the containers.
- Jar diameter: measure the widest jar you use, then add about 1/2 inch total wiggle room per slot or row.
- Jar height: if you want labels visible, tier risers typically need 1 1/2 to 2 1/2 inches of step height.
- Counter depth: many counters are around 24 inches deep, but usable depth shrinks near appliances, confirm your “free zone.”
- Where it lives: near the stove means more grease and heat, plan a wipeable finish and a stable footprint.
Practical rule: a rack that’s slightly wider and lower is usually more stable and pleasant than a tall skinny one, even if the tall one looks cooler online.
Build plan: a simple 3-tier countertop rack (easy, stable, adjustable)
This plan aims for the common 4 oz spice jars, with room to adapt. Final size lands around 16 inches wide, 9 inches deep, 8 inches tall, which fits many counters without feeling bulky.
Cut list (example)
| Part | Qty | Suggested size (inches) | Notes |
|---|---|---|---|
| Side panels | 2 | 8 H x 9 D | Cut as rectangles or add a slope for style |
| Tier decks | 3 | 16 W x 3 D | Increase depth for larger jars |
| Risers | 2 | 16 W x 2 H | Creates the step height |
| Front lips (optional) | 3 | 16 W x 3/4 H | Keeps jars from sliding forward |
| Back strip (optional) | 1 | 16 W x 1 H | Acts as a stop against backsplash |
Assembly steps (the no-drama version)
- Dry fit first: place decks and risers between side panels, check jar clearance and label visibility.
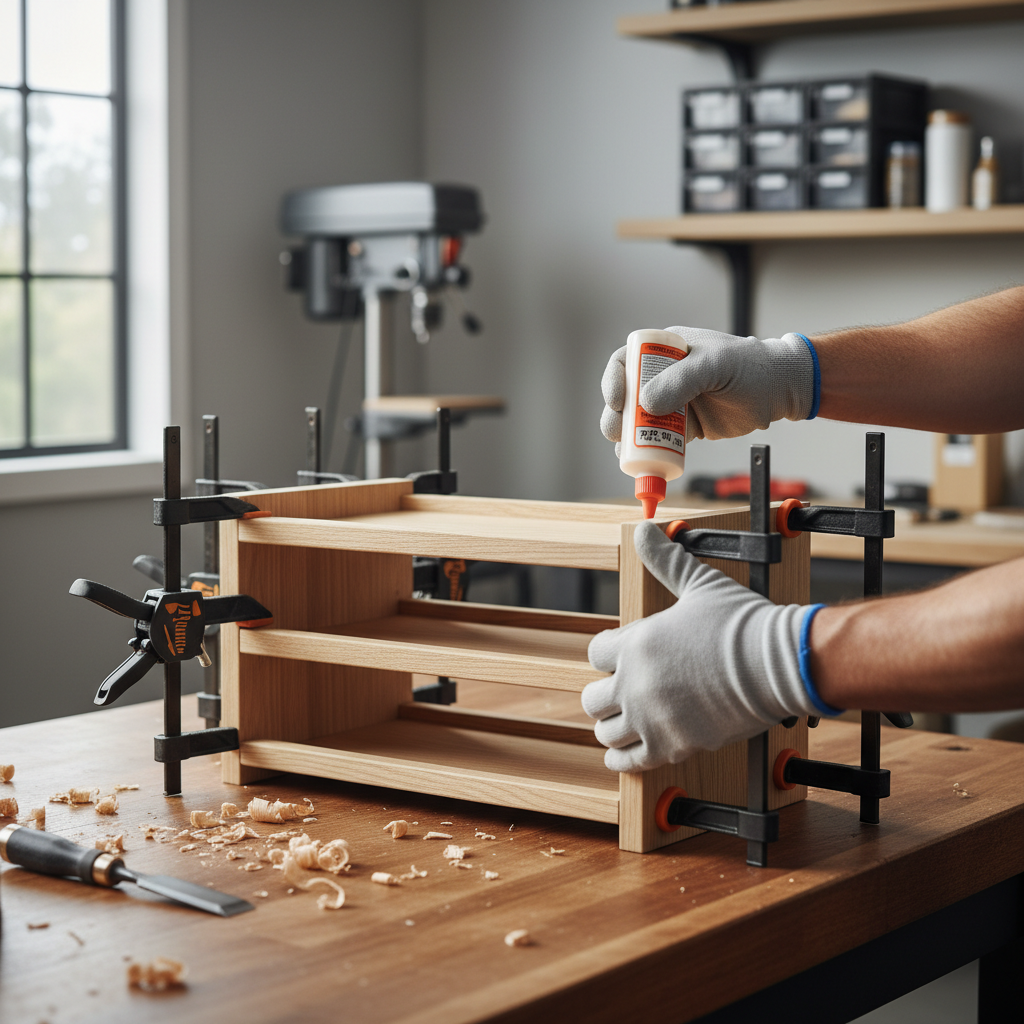
- Glue and clamp: glue decks to risers, keep edges flush, let it tack up for a few minutes.
- Attach to side panels: pre-drill if using screws, or brad nail after clamping so nothing creeps out of square.
- Add lips or stops: a small front lip helps if your counter vibrates from a dishwasher nearby.
- Sand edges: ease sharp corners, especially the front where hands constantly grab jars.
If you want an even easier path, you can build it like a set of three shallow boxes stacked, it uses more material, but alignment gets simpler.
Finishing for a kitchen: wipe-clean, low odor, less regret
A diy wooden spice rack for kitchen countertop use sits in a messy zone, steam, oil mist, and constant handling. The finish matters more than the wood species in many homes.
- Water-based polyurethane: common choice for a wipeable surface, usually dries faster and smells less than oil-based options.
- Hardwax oil: nice feel, easy spot repairs, but pick a product intended for interior wood and follow cure times carefully.
- Paint + topcoat: great if you want it to match cabinets, use a durable clear coat if the paint scuffs easily.
According to the EPA, some finishes can release VOCs, so ventilation helps, and if you’re sensitive to odors, choosing low-VOC products can make the process more comfortable. Cure time matters too, “dry to touch” is not the same as “ready for daily wiping.”
Common mistakes that make a spice rack annoying fast
Most problems show up in week two, not day one. If you want a countertop rack that stays useful, watch these.
- Too shallow tiers: jars feel like they’re perched, not seated, add depth or a small lip.
- Steps too short: labels hide again, increase riser height or switch to angled shelves.
- No anti-slip: the whole rack walks forward on quartz or laminate, add rubber feet.
- Overcrowding: a rack packed to the edges makes grabbing jars irritating, build for today plus a little buffer.
- Finish applied too thick: drips and tackiness, light coats win in a kitchen.
Practical upgrades if you cook a lot (optional, but worth it)
You can keep the build basic and still make it feel “designed.” A few upgrades change daily usability more than fancy joinery.
- Label-forward layout: stagger tiers so the front jar doesn’t block the back label, even a 1-inch offset helps.
- Dedicated row for tall items: grinders and oil sprayers often need a deeper, taller zone.
- Removable liner: thin cork or a cut-to-fit shelf liner makes rattling quieter and cleaning easier.
- Carry handle cutout: if you move it for cleaning, a simple finger slot on each side saves your grip.
Key takeaway: build around how you reach and read, not around a photo, the right rack feels invisible because it never gets in the way.
When it’s smarter to ask for help (or switch approaches)
If you’re new to cutting wood, the main risk is not the rack looking imperfect, it’s unsafe tool use. According to CPSC, consumers should follow manufacturer safety instructions for power tools and use appropriate protective equipment, if you’re unsure about a cut, a local hardware store or a friend with experience may be a better next step than “just trying it.”
Also, if your spices sit right next to a high-heat range or open flame, consider whether a wall-mounted solution or a drawer insert fits your kitchen flow better. Layout constraints are real, and forcing a countertop build sometimes creates clutter instead of solving it.
Conclusion: build it once, use it every day
A diy wooden spice rack for kitchen countertop setup works best when it’s sized to your actual jars, stable on your actual counter, and finished for real kitchen mess. Keep the first version simple, then upgrade with lips, liners, or better spacing if you notice a real friction point.
If you want a clear next step, measure your most-used jars tonight and sketch the tier depths on paper, that small prep makes the cutting and assembly feel straightforward tomorrow.
FAQ
- What wood is best for a countertop spice rack?
For many DIYers, pine or poplar is plenty and easier to cut cleanly. If you want a tougher surface, hardwoods like oak or maple can hold up well, but they cost more and can be less forgiving on dull blades. - How deep should each tier be?
A lot of common spice jars feel comfortable on roughly 3 inches of shelf depth, but wider jars may need more. If you’re unsure, mock it up with painter’s tape on the counter so you can “place” jars before committing. - How do I stop the rack from sliding on quartz or laminate?
Rubber bumpers usually solve it without changing the design. If you still see movement, a cork liner on each tier adds grip and reduces rattling when you set jars down. - Is it safe to keep spices next to the stove?
Many kitchens do it, but heat and steam can reduce spice quality over time. If the rack sits close to a burner, consider shifting it a bit away from direct heat, and when in doubt, ask a kitchen professional about safe clearances for your setup. - What finish is easiest to maintain?
In many homes, a water-based polyurethane is the simplest “wipe and move on” finish. Whatever you choose, follow the cure time on the label, because early wiping can leave marks or stickiness. - Can I build this without a miter saw?
Yes, a circular saw with a straightedge guide can produce clean cuts. The bigger issue is keeping cuts square and consistent, so take your time, mark carefully, and do a dry fit. - How many spices should I plan for?
Count what you use weekly, then add a little breathing room. Overbuilding slightly is fine, but a huge rack that dominates the counter tends to become the new clutter.
If you’re trying to keep a small kitchen feeling calm, a simple rack is a good start, and if you’d rather skip the trial-and-error sizing, you can base your build on a standard jar set you already use so the spacing and tier height decisions get easier fast.