
How to remove candle wax from furniture comes down to two things: hardening the wax without pushing it deeper, then lifting residue in a way that matches your furniture’s finish.
If you’ve ever tried to wipe warm wax, you already know the mess gets bigger fast, it smears, it soaks into pores, and suddenly you’re dealing with an oily-looking shadow that feels permanent. The good news, most wax accidents are fixable at home if you slow down and use the right combo of cold, gentle scraping, and controlled heat.
Below you’ll get a quick decision table, a simple self-check, and step-by-step methods for wood, painted furniture, upholstery, leather, and glass, plus the mistakes that cause the most damage.
Before You Start: Identify the Surface and Finish
Most “damage” happens because people use the right idea on the wrong surface, like applying direct heat to a delicate lacquer, or rubbing solvent into a waxed wood finish. Spend 30 seconds here, it usually saves hours later.
- Hard, sealed surfaces: varnished wood, polyurethane, painted furniture, laminate, metal, glass.
- Porous or delicate surfaces: unfinished wood, oil-waxed finishes, raw stone, some vintage lacquer.
- Soft goods: fabric upholstery, microfiber, leather, faux leather.
If you’re unsure, treat it as delicate: start with cold + gentle lifting, then move to low heat only if needed.
Quick Method Picker (Table)
Use this to choose your first move without overthinking it.
| Surface | Best first step | Next step | Avoid |
|---|---|---|---|
| Finished wood (poly/varnish) | Ice + plastic scrape | Low heat through paper + buff | Metal scraper, soaking with oils |
| Painted furniture | Ice + gentle lift | Low heat, minimal pressure | High heat (can soften paint) |
| Upholstery (fabric) | Harden + break off | Iron-on-low through paper + spot clean | Rubbing warm wax into fibers |
| Leather | Harden + lift chunks | Warm cloth briefly + condition | Alcohol, acetone, aggressive heat |
| Glass/metal | Warm + wipe | Razor at shallow angle (glass only) | Scraping metal finishes |
The Core Technique: Cold to Lift, Heat to Blot
Whether you’re dealing with a dining table or sofa arm, the pattern stays consistent. The difference is how much heat and pressure your surface can tolerate.
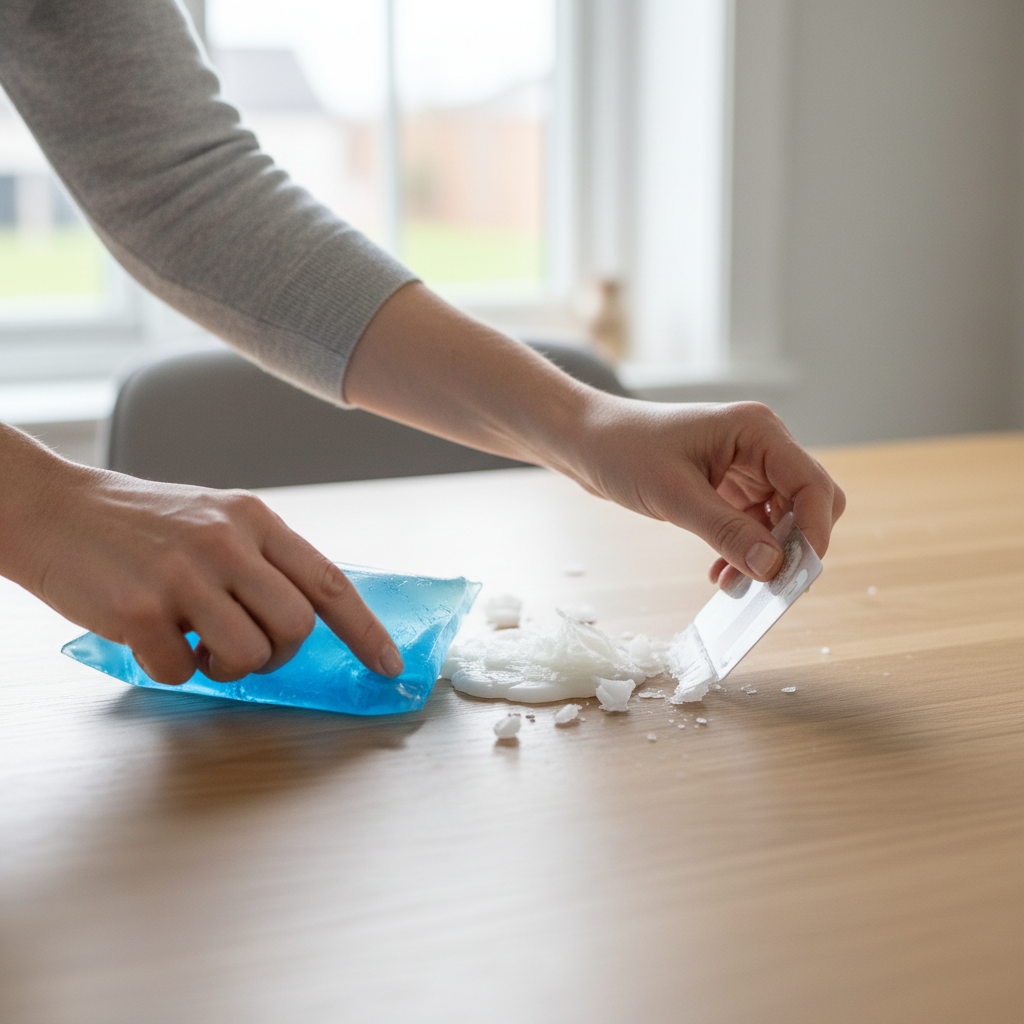
Step 1: Freeze the wax (don’t smear it)
- Place a zip-top bag of ice or a cold pack on the wax for 2–5 minutes.
- Wait until it feels brittle and dull, not tacky.
Step 2: Pop off what you can
- Use a plastic card, a plastic putty knife, or your fingernail for delicate finishes.
- Work from the edge toward the center, small lifts beat big prying motions.
Key point: removing the bulk first makes the next step safer, because you’ll need less heat and less rubbing.
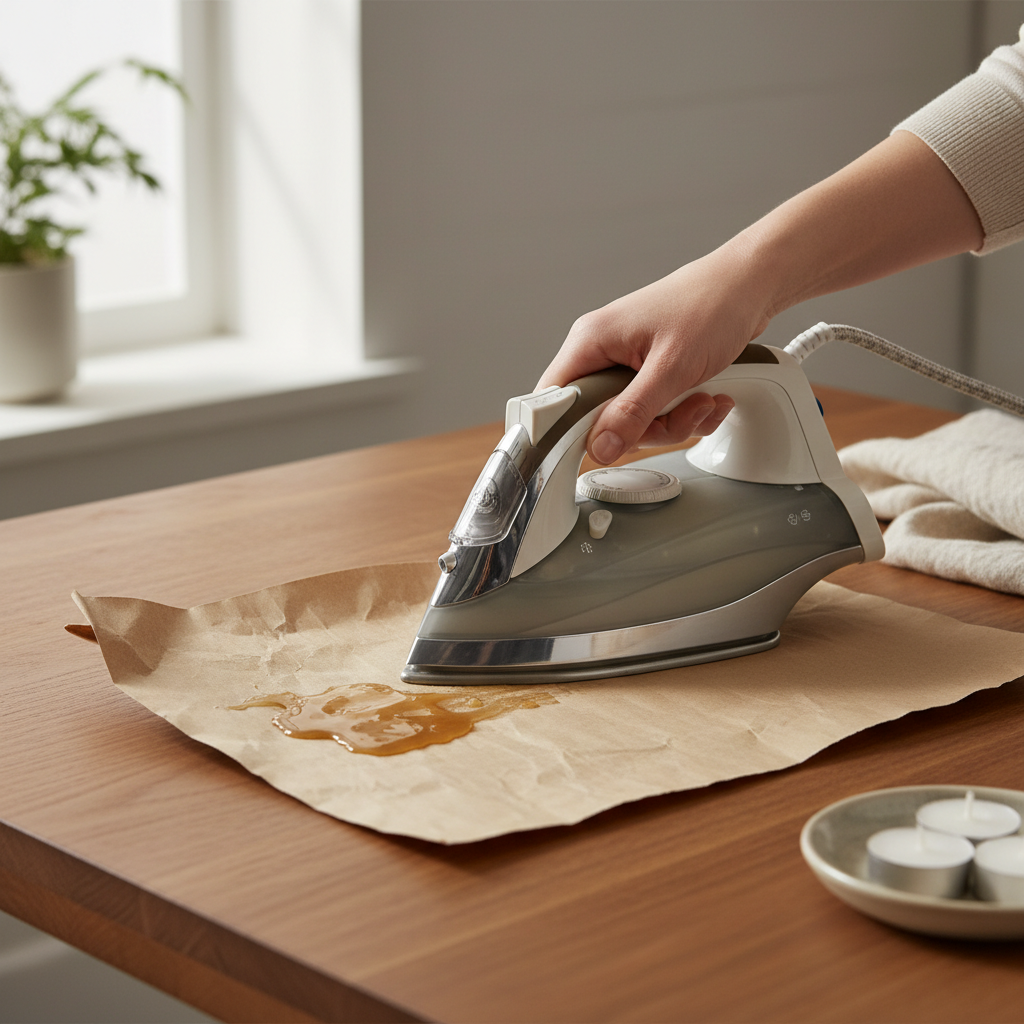
Step 3: Use controlled heat to absorb residue
- Cover the area with brown paper bag, kraft paper, or plain paper towels.
- Apply low heat with a warm iron (no steam) for a few seconds at a time, or use a hair dryer on low.
- Lift, check, and replace paper as it absorbs wax.
According to the U.S. Consumer Product Safety Commission, burns are a common household injury category, so treat irons and hot tools with care, keep kids and pets away, and avoid leaving heat unattended.
How to Remove Candle Wax From Furniture: By Material
Here’s where most guides get too generic. The steps below keep the same logic but change the details so you don’t trade a wax spot for a finish problem.
Finished wood (polyurethane, varnish, sealed)
- Cold pack, then gently scrape with plastic.
- Blot residue using paper + low iron or hair dryer.
- Wipe with a barely damp microfiber cloth, then dry immediately.
- If a haze remains, buff lightly with a dry cloth, if your usual furniture polish is part of your routine, use a small amount rather than “new” products.
If you’re still seeing a dull patch, it’s often wax residue, not permanent damage, repeating the blot step once or twice usually helps more than scrubbing harder.
Unfinished, oil-waxed, or antique wood
This is the “go slow” category. Heat can pull oils, change sheen, or leave a lighter spot.
- Use extra cold time and lift wax mechanically as much as possible.
- Skip the iron unless you test a tiny hidden area first.
- If residue stays, try a hair dryer on low from farther away, short bursts, blot immediately.
If the piece is valuable or sentimental, it may be worth calling a furniture restoration pro rather than experimenting with solvents.
Painted furniture
- Harden and lift with plastic tools only.
- Use low heat briefly through paper, stop if paint feels soft.
- Clean leftover film with mild dish soap in warm water on a cloth, then dry.
Many painted finishes soften earlier than you expect, so “just a little more heat” can turn into texture changes.
Fabric upholstery (cotton, linen blends, microfiber)
- Freeze and break off chunks without rubbing.
- Place paper towels above and below the fabric layer if possible.
- Use iron on lowest setting, short taps, move to clean paper often.
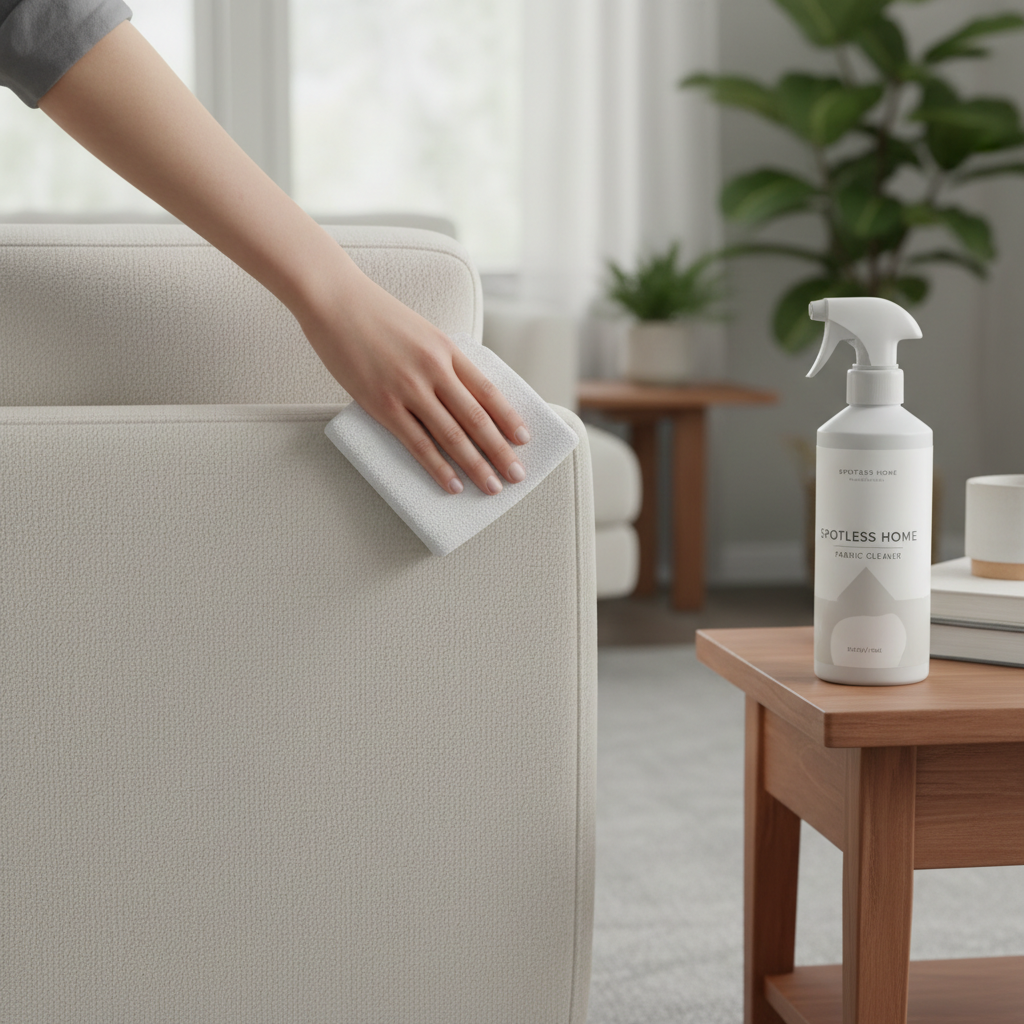
- After wax lifts, spot clean any dye or oily mark with a fabric-safe upholstery cleaner, following the label.
According to the American Cleaning Institute, reading and following cleaning product labels matters for both safety and results, especially around fabrics that can discolor.
Leather and faux leather
- Let wax fully harden, then lift pieces gently.
- Use a slightly warm, damp cloth for a few seconds to soften remaining wax, blot off.
- Finish with a leather conditioner if you have one that’s appropriate for your item.
Skip alcohol, acetone, and harsh degreasers on leather, they can strip finish and dry it out fast.
Glass, stone, and metal
- Warm wax with a hair dryer on low, wipe with paper towels.
- For glass only, a razor scraper at a shallow angle can work, keep it flat to avoid gouges.
- Clean with glass cleaner or mild soap, dry to prevent streaks.
Stone varies a lot. If it’s porous (like some marble or limestone), wax can darken the surface, you may need a stone-safe poultice and it’s smart to consult a stone care specialist.
Self-Check: What Kind of Wax Problem Do You Have?
Before you repeat steps ten times, diagnose what’s left. Different leftovers need different moves.
- Raised wax you can feel: go back to cold + gentle lifting.
- Thin greasy film: blot with paper + low heat, then mild soap wipe.
- Color stain (from dyed candles): treat like a dye stain after wax removal, spot test cleaner.
- Dull or cloudy patch on wood: often residue or finish disturbance, minimize scrubbing, buff gently.
Common Mistakes That Make Wax Damage Worse
- Wiping hot wax: it spreads, penetrates, and becomes a larger stain.
- Using a metal blade on wood: one slip becomes a permanent scratch.
- Cranking heat: higher heat can soften finishes, lift paint, or bake wax deeper into fabric.
- Skipping the paper barrier: heat without an absorbent layer just liquefies wax and moves it around.
- Throwing random solvents at it: some finishes react badly, and you’ll only know after the spot looks worse.
When to Stop DIY and Call a Pro
DIY is usually fine for sealed wood and common upholstery, but there are moments where “one more try” becomes the expensive mistake.
- The furniture is antique, high-gloss lacquered, or you suspect an oil-waxed finish.
- Wax seeped into cracks, carved detail, or cane and keeps reappearing after heating.
- Dyed candle wax left a strong color stain on fabric or unfinished wood.
- You smell burning or see finish softening during heat steps.
If you’re dealing with stone (marble, granite, quartzite) and the surface darkens, consider a stone care professional, products vary and the wrong cleaner can etch or dull the polish.
Conclusion: A Simple Plan That Works in Most Homes
Most of the time, how to remove candle wax from furniture is a calm, two-part job: freeze and lift, then use low heat to blot residue, adjusting the method to your material instead of forcing one trick everywhere. If you do one thing today, make it this, remove the bulk while it’s brittle, and don’t rub warm wax into the surface.
If you want a practical next step, grab an ice pack, a plastic card, and brown paper, then work in short passes. That approach fixes a surprising number of wax mishaps without turning it into a bigger repair job.
FAQ
What is the safest way to remove wax from a wood table?
For most sealed wood tables, harden with ice, lift with a plastic edge, then use low heat through paper to absorb what’s left. Avoid metal scrapers and high heat, both can mark the finish.
Can I use vinegar to remove candle wax from furniture?
Vinegar can help with some residues on certain hard surfaces, but it’s not a wax “dissolver,” and it can be risky on stone or some finishes. If you try it, dilute, use a small amount, and spot test first.
How do I get candle wax out of upholstery without staining?
Freeze and lift chunks first, then blot with paper and an iron on the lowest setting. After wax is gone, treat any remaining mark as a separate stain, spot test an upholstery-safe cleaner instead of rubbing aggressively.
Does a hair dryer work as well as an iron for wax removal?
A hair dryer is gentler and often safer on delicate finishes because the heat is less concentrated, but it can be slower. An iron is efficient when you have a good paper barrier and keep the temperature low.
What if the wax is colored and left a dye stain?
Remove all wax first, then address color. On fabric, a stain remover made for upholstery may help, on wood, especially unfinished wood, you may need professional advice because sanding or refinishing becomes part of the conversation.
Can I scrape wax off with a razor blade?
On glass, a razor scraper used carefully at a shallow angle can work. On wood, painted surfaces, and most metals, it’s more likely to scratch than to help.
Why does the surface look cloudy after wax is removed?
Cloudiness is often thin residue or minor finish disturbance from heat. Try another low-heat blot with clean paper, then buff gently, if it persists on valuable furniture, a pro can assess the finish safely.
If you’re dealing with repeated candle spills, delicate finishes, or furniture you’d rather not experiment on, a small “wax removal kit” setup, plastic scraper, brown paper, microfiber cloths, can make the cleanup more predictable and less stressful the next time it happens.