
how to organize under sink storage in bathroom usually comes down to two things people underestimate: working around the plumbing, and limiting what actually deserves to live under there.
If your cabinet is a mess, you’re not alone. It’s a dark, awkward space, bottles tip over, small items disappear, and one leak can turn “storage” into a soggy hazard. The good news is you don’t need a full remodel, you need a plan that fits how you use the bathroom.
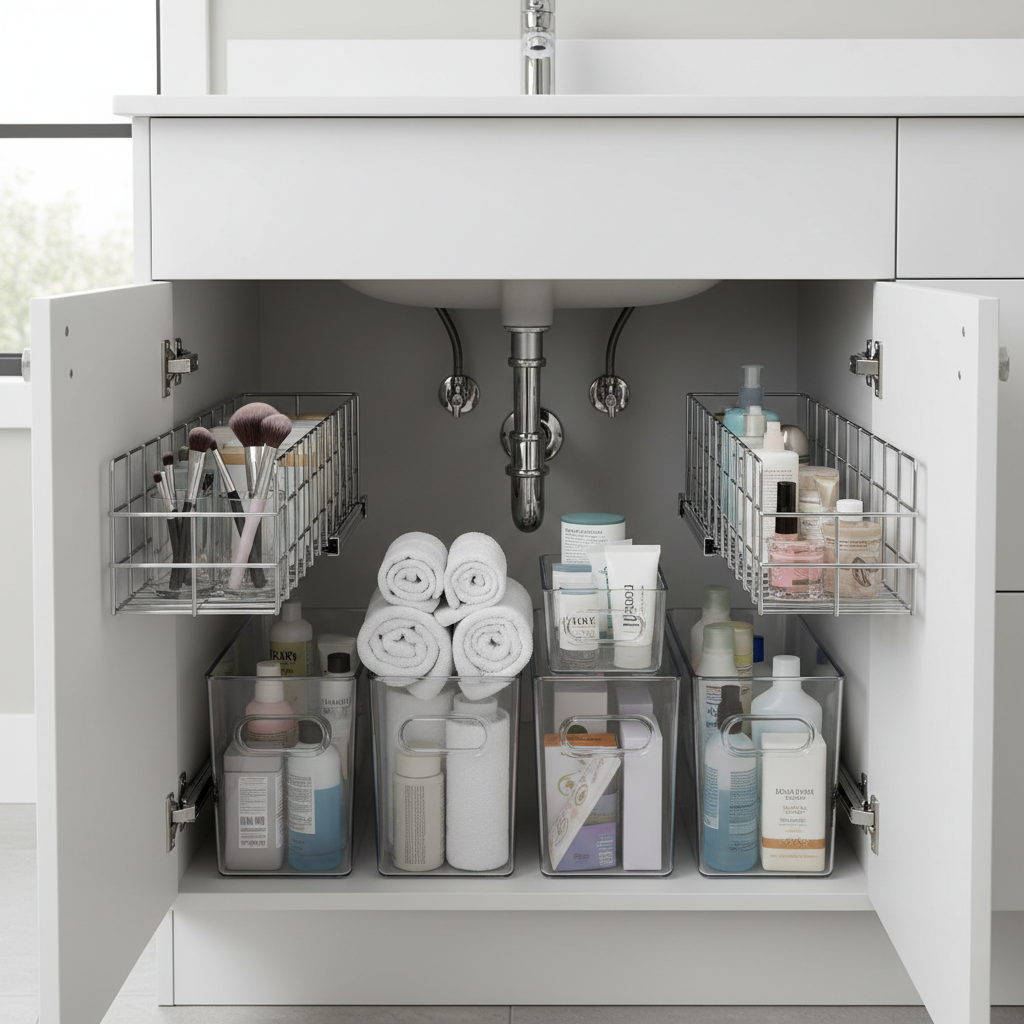
In this guide, you’ll get a practical layout for common cabinet shapes, a quick self-check to pick the right organizers, and a setup routine that keeps the space from drifting back into chaos. I’ll also flag safety and moisture issues that people skip until it bites them.
Start with the real constraints: plumbing, moisture, and daily habits
Before buying bins, look at what you can’t change. Under-sink storage fails when your system ignores the P-trap, shutoff valves, and the fact that bathrooms run humid.
- Plumbing footprint: Most cabinets have a center drain pipe that blocks tall bins and makes “stacking” awkward.
- Moisture risk: This area is where slow leaks show up first, and cardboard packaging turns gross fast.
- Access rhythm: Some items are daily, some weekly, some “only when guests visit.” Mixing them guarantees clutter.
According to EPA (United States Environmental Protection Agency), fixing water leaks helps conserve water and can prevent moisture issues that may contribute to mold. You don’t need to panic, but you do want storage that lets you spot drips quickly.
Declutter fast: keep what belongs under the sink, move the rest
Under the sink is not a general warehouse. If you’re trying to figure out how to organize under sink storage in bathroom, the fastest win is deciding what should not be there.
What typically belongs under the sink
- Backup soap, toothpaste, floss, contact supplies (if used in that bathroom)
- Cleaning supplies for that bathroom only
- Hair tools only if there’s an outlet and you can store safely once cool
- Small first-aid basics, if no better place exists and kids/pets can’t access
What usually does better elsewhere
- Extra towels (linen closet stays drier)
- Perfume and heat-sensitive skincare (many formulas degrade with heat/humidity)
- “Someday” products you don’t reach for (be honest, they create pile-ups)
Quick rule: if you haven’t used it in 60–90 days and it’s not a true backup, it’s probably not an under-sink resident.
Self-check: choose organizers that match your cabinet (not your wishlist)
This is where people overspend. Measure first, then buy organizers that fit the cabinet and the pipe layout.
- Measure three things: interior width, depth, and height, plus the lowest obstruction from plumbing.
- Check doors: hinges and door style can block slide-out drawers.
- Note the floor: if it’s uneven or has a lip, some pull-outs wobble.
- Decide your access style: if you hate bending and digging, prioritize drawers or pull-outs.
If your cabinet has a center pipe, look for U-shaped bins, narrow bins that flank the pipe, or a two-tier shelf that sits above the trap. If the plumbing is offset, you can often fit a larger pull-out on one side.
Set up simple zones: a layout that stays tidy
A zone system keeps you from reorganizing every month. Think of zones as “where your hand naturally goes,” not Pinterest categories.
Suggested zone map (works for most households)
- Front, easiest reach: daily backups (cotton pads, extra toothpaste, razor refills)
- One side: cleaning kit (spray, wipes, gloves, small brush)
- Other side: personal care backups (shampoo, lotion, feminine care, shaving cream)
- Back corner: rarely used items (guest supplies, travel bottles)
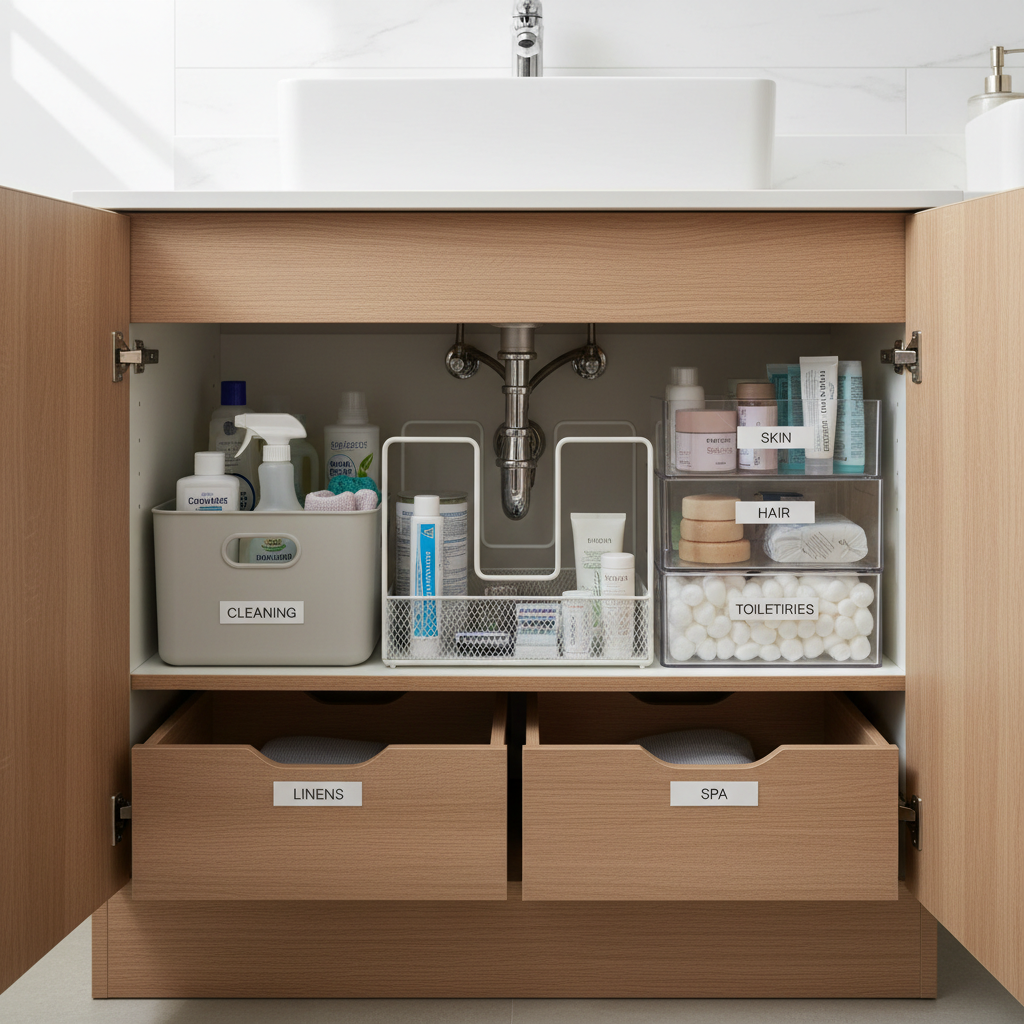
Labels help, but don’t overdo it. One label per bin is enough, you’re trying to reduce decision-making, not create a museum exhibit.
Step-by-step: a practical setup in 45–90 minutes
You can do this in one pass if you avoid complicated “perfect spacing.” Aim for stable containers, clear categories, and a leak-friendly floor.
- Empty the cabinet and wipe down surfaces, especially the back corners.
- Do a quick leak check: look for mineral buildup, damp wood, or swelling. If you see active dripping, consider a plumber.
- Add a protective base: a washable liner or a waterproof mat helps you spot moisture early.
- Place large organizers first: drawers/pull-outs or stacked shelves, then fill gaps with narrow bins.
- Create one “drop zone”: a small tray for loose items that otherwise migrate (hair ties, travel minis).
- Group duplicates: keep backups together so you stop buying accidental extras.
- Label lightly and do a 30-second reset test: can you put everything back without thinking?
When people ask how to organize under sink storage in bathroom, the part they skip is the reset test. If putting things away feels annoying, the system won’t last.
What to buy (and what to skip): a quick comparison table
Not every organizer makes sense under a sink. Here’s a realistic cheat sheet.
| Organizer type | Best for | Watch-outs |
|---|---|---|
| Pull-out drawers | Deep cabinets, people who hate digging | Check door hinges and cabinet lip, measure carefully |
| Stackable shelves | Creating height, small bottles, meds (secured) | Can block plumbing, items still fall if shelf is narrow |
| U-shaped organizer | Center plumbing, keeping items accessible | May waste space if pipe is offset |
| Handled caddy | Cleaning supplies you carry out of the cabinet | Liquid spills inside caddy, choose washable plastic |
| Lazy Susan | Small items in wide cabinets | Often bumps into pipe, can become a junk carousel |
Buying tip: clear bins help most people maintain the system because you can see what’s running low without pulling everything out.
Mistakes that quietly ruin your setup (and how to avoid them)
- Storing open chemicals without a plan: keep cleaners upright in one caddy, and avoid mixing products. If you have kids or pets, add a childproof latch or store hazardous items higher. According to CDC, mixing certain cleaning products (like bleach and ammonia) can create dangerous gases, so keep them separated and clearly labeled.
- Overfilling “just in case”: backups are fine, but too many duplicates make it harder to notice leaks and expired items.
- Ignoring heat and humidity: some cosmetics and meds can degrade faster in warm, damp spaces. When in doubt, check the label or ask a pharmacist.
- Using cardboard: it absorbs moisture and hides drips, plastic or sealed acrylic tends to hold up better.
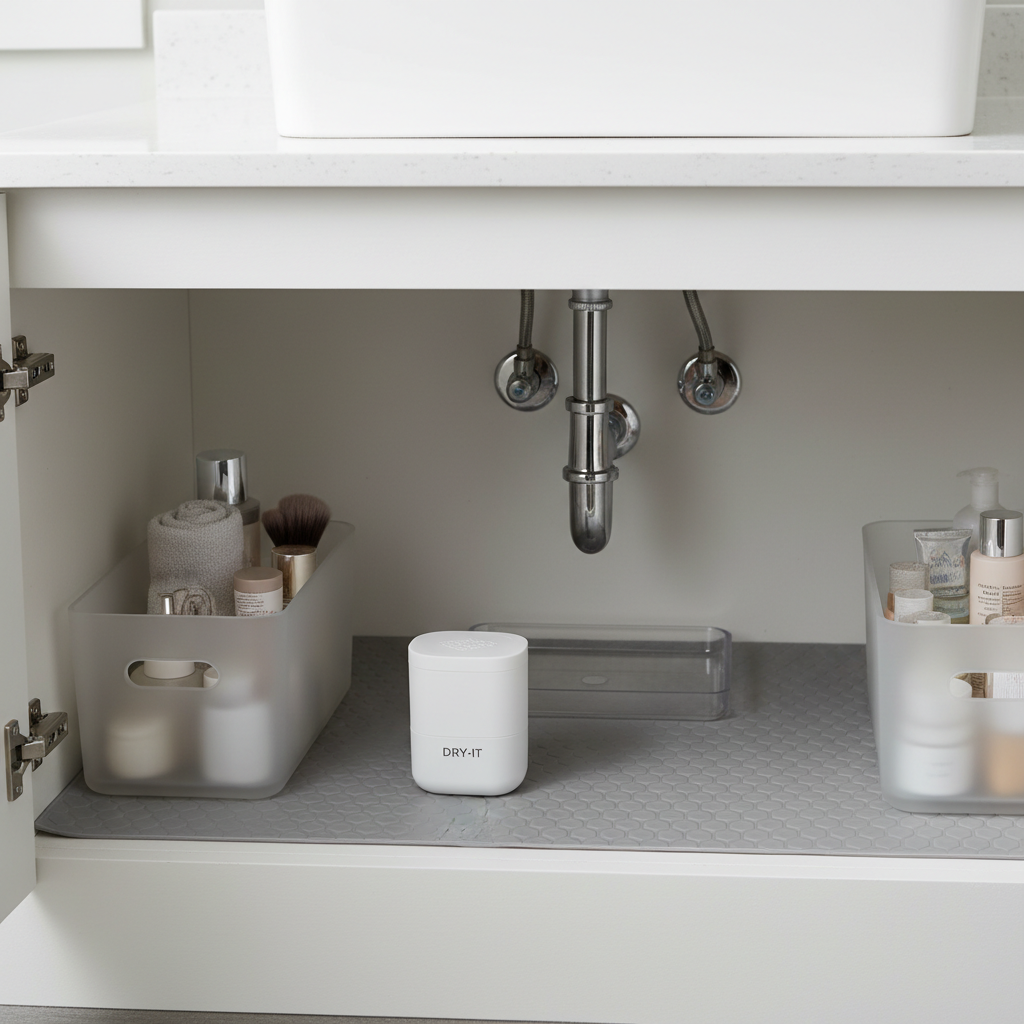
If you only fix one thing, fix visibility. Leave a small open strip of cabinet floor near the pipe so you can spot moisture early.
When it’s time to get help (or upgrade the cabinet)
Organization can’t solve a cabinet that’s actively failing. Consider professional help if you notice persistent musty odors, recurring dampness, soft or swelling cabinet base, or valves you can’t access safely.
If you’re renting, it’s usually smarter to keep solutions removable: bins, caddies, tension rods, and adhesive hooks that won’t damage surfaces. For homeowners, a plumber can sometimes re-route or tighten connections to reduce drips, and a contractor can add a removable access panel if the cabinet is unusually tight.
Conclusion: keep it simple, then keep it consistent
Once you see how to organize under sink storage in bathroom as a “zone plus visibility” problem, decisions get easier. Make the plumbing the center of the plan, use a few containers that match your cabinet measurements, and keep daily items within easy reach.
Action idea for today: measure the cabinet, toss cardboard and empties, then set up two bins and one cleaning caddy. Give it a week, adjust sizes after you live with it.
Key takeaways:
- Design around pipes and moisture, not around idealized shelf photos.
- Zones beat complicated categories, especially in shared bathrooms.
- Visibility prevents both clutter and leak surprises.